

Silent Lawn Care
The silent whirr of a reel mower coupled with its fume free simplicity is often a good alternative to gas-powered lawn care. Step 1: Reel […]
The silent whirr of a reel mower coupled with its fume free simplicity is often a good alternative to gas-powered lawn care. Step 1: Reel […]

Use Stair Gauges to Properly Mark a Stringer Building a set of stairs is a tricky endeavor. Using a pair of brass stair gauges and […]
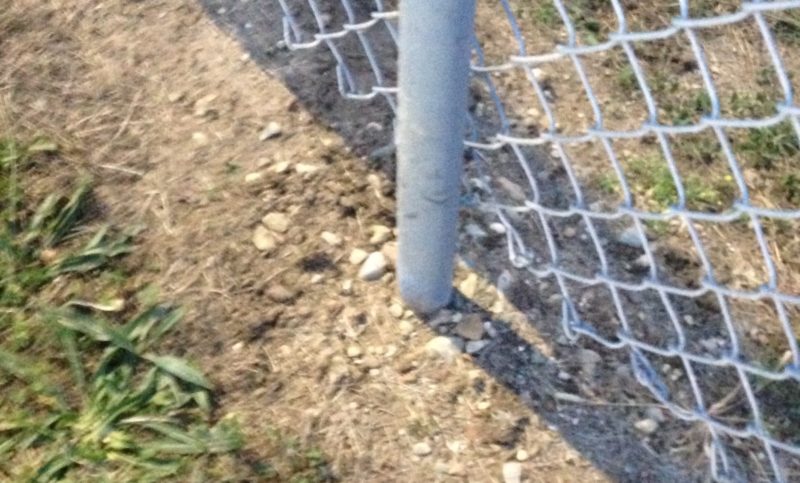
How to set a fence post: Whether it is one post for a mail box or 100 posts for a fence, it is important to […]

If spring has sprung a leak in your basement wall, it is time to head to your local hardware store or lumber yard for some […]
To fertilize or not to fertilize… that is the question. Excessive fertilization is detrimental to your lawn, wastes money, causes pest problems and is bad […]
Window boxes can add charm and color to any structure on your property. Consider adding a window box to your home, garage or storage shed. […]
To seed or not to seed, that is the question. Spring is a great time to over seed an existing lawn. Sunshine is abundant in […]
About ants and eliminating Ants inside. When the ants come marching two-by-two, into your kitchen, “hurrah, hurrah” is most likely not the first phrase that […]
Spring is a great time to plant a tree for shade and savings. Trees not only increase the value of your property, but can also […]
When it comes to old light fixtures, repairing rather than replacing is always a good option. Replacing a lamp socket assembly is an easy way […]
Copyright © 2026 | WordPress Theme by MH Themes